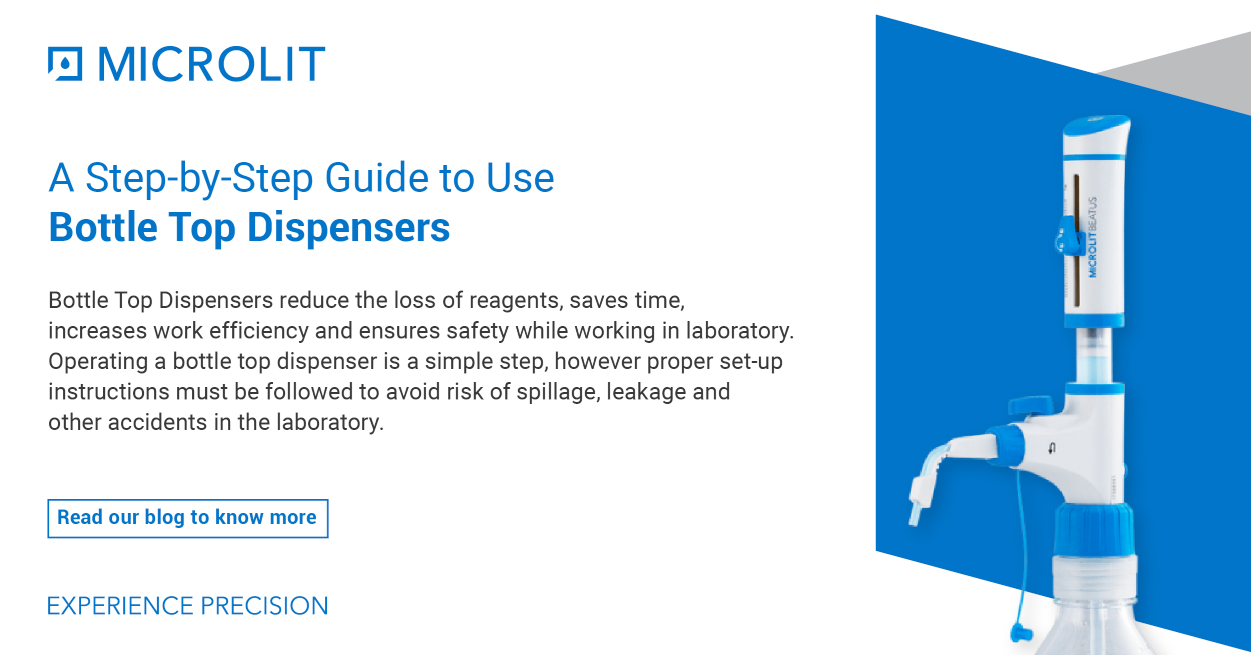
A Step-by-Step Guide to Use Bottle Top Dispensers
- January 12, 2022
- ENQUIRE NOW
Bottle Top Dispensers – A necessary safety lab equipment
A bottle top dispenser is a common lab instrument which is used to dispense precise amounts of chemicals/reagents, organic and inorganic solvents, oils etc. from bottles or other containers. The process of dispensing manually poses several risks such as spilling of chemicals, inaccurate measurements and even fatal lab accidents. In order to prevent such hazards and enhance lab safety, Bottle Top Dispensers are the go-to scientific apparatus for dispensing reagents safely and precisely in laboratory environment. They can safely dispense a fixed amount of liquid usually between 1 ml and 100 ml, directly from a bottle to a receiving container. The components of a bottle top dispenser include piston, glass barrel, volume adjustment knob, dispensing nozzle, nozzle cap, inlet tube and bottle adaptors.
Benefits of Using Bottle Top Dispensers
Bottle top dispenser is a common yet essential laboratory instrument for liquid dispensing. Some of the benefits are:
1.Easy and safe to use while conducting experiments using highly corrosive acids like Hydrochloric acids
2.Ensures high accuracy with only 0.5% – 0.6% variation
3.Minimizes the wastage of chemicals or reagents and eliminates risk of splashing
4.Enhances overall working productivity
5.Facilitates routine work
6.Fits in budget
Applications of Bottle Top Dispensers
Bottle top dispensers are widely used in the fields of biology, chemistry, clinical medicine, industrial laboratories etc. due to the accurate and precise dispensing of liquids, enhanced safety, ease of use and convenience. Bottle Top Dispensers play a vital role in Pharmaceutical, Healthcare, Food and Beverages, Environmental monitoring, Academic & Research Institutes and Life Sciences.
A Detailed Guide to Use BTD
It is quite simple to operate any bottle top dispenser. However, proper setup instructions must be followed to avoid risk of spillage or other accidents in the laboratory:
1. Check the calibration report
- One should start with checking the calibration report generated for bottle top dispenser
- The report must show that the dispenser is calibrated at an ISO 17025 certified laboratory
- One can estimate the performance of the instrument by taking into consideration the error limits mentioned on calibration report
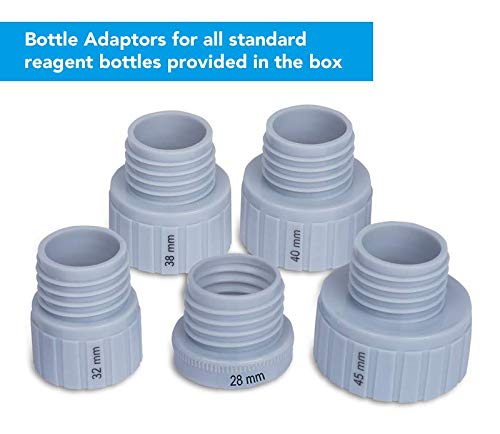
2. Choose the right adapter
- A set of bottle adapters are provided with the instrument to help mount the dispenser on various reagent bottles of standard sizes
- Adaptors are usually made with polypropylene (PP) to avoid reactivity with most chemicals. ETFE/PTFE adaptors may be used for aggressive acids and solvents
- One should choose the correct adaptor according to the neck size of reagent bottle
- The adapter comes in different sizes which are 28mm, 32mm, 38mm, 40mm and 45mm
3. Attach the inlet telescoping tube
The telescoping tube can be adjusted according to the bottle size (height) and then fixed at the bottom of bottle top dispenser.
4. Mount the dispenser on the reagent bottle
After attaching the inlet tube to the dispenser, mount it on the reagent bottle and screw the dispenser tightly onto the bottle.
5. Purge the Dispenser
It is important to remove air bubbles from the dispenser barrel as it may cause inaccuracy in dispensing of liquid. To remove air bubbles, one should follow below steps:
- Turn on the recirculation knob by rotating it 90 degree anti-clockwise (This feature is only available in Microlit’s BEATUS and ULTIMUS bottle top dispensers)
- Aspirate and dispense a few times until this barrel is bubble-free
- Turn off the recirculation knob by rotating it clockwise towards the dispensing nozzle
- Aspirate and dispense to ensure bubble-free dispensing
6. Set the right volume
- To begin dispensing, the user must determine the quantity (in ml) that is required for the experiment.
- EasyKnob® is a specially designed volume adjustment knob that is available in all Microlit’s bottle top dispensers. It allows 180° rotation for locking and unlocking which results in simple and accurate volume adjustment.
7. Dispense
Wear protective clothing, protective gear for the eyes and hands. To avoid splashes, dispensing must be done slowly. All safety instructions should be done followed as follows:
- Remove cap from the discharge tube
- Set the volume of liquid to be dispensed using the volume adjustment knob.
- Turn the valve to ‘Dispensing’
- Gently lift the piston until the upper end. Press the piston downwards slowly and steadily with minimal force until it reaches the bottom and all the liquid in the barrel is dispensed
- Wipe off the discharge tube against the inner wall of the receiving vessel
Cleaning, maintenance & storage of BTD
1. Cleaning based on usage
The instrument must be cleaned immediately in the following situations: 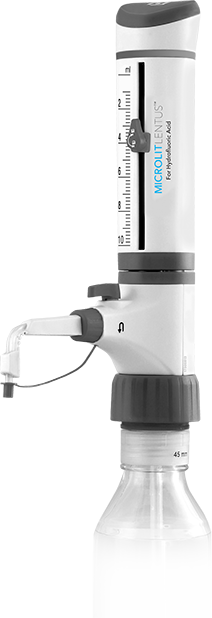
- The piston is hard to move
- The reagent to be dispensed in being changed
- After a long period of non-usage
- Before sending for maintenance and repair work
- Before sterilization
- Regularly when using crystallizing liquids
2. Standard cleaning
Before beginning the cleaning process, the lab technician must wear protective glasses, clothing and gloves.
- Dispense all liquid from the barrel – there should be no liquid before starting the cleaning process
- Place the instrument together with the bottle in an empty sink
- Unscrew the instrument and separate it from the bottle. The inlet tube is no longer immersed in the liquid
- Carefully tap the inlet tube against the inside of the reservoir until the reagent has completely drained out of the inlet tube
- Hold the dispensing nozzle over the reservoir’s aperture and apply piston stroke gently in order to return any contents into the reservoir
- Empty the instrument completely
- You may then dispense distilled water through the system to clean it
- If the piston barrel is still not cleaned, you may need to dissemble the instrument and repeat the cleaning process again. Never use force to disassemble and reassemble the instrument. It may cause physical damage to the instrument.
3. Intensive Cleaning
Intensive cleaning must be done if the reagent is dense and viscous. It requires complete disassembling of the instrument so that all the parts can be cleaned separately. Before disassembling the instrument for intensive cleaning, do not forget to carry out standard cleaning procedures.
- Pull the cap outwards to expose the calibration nut and unscrew it with the help of a calibration tool to disassemble the piston.
- Pull out the shaft and rinse together with deionized water.
- Clean the cylinder with a bottle-brush. Carefully remove deposits at the edge of the glass cylinder.
- Flush all the parts such as delivery nozzle, pipe and cover etc. of the instrument with deionized water. Use soft brushes and a suitable cleaning agent to clean the instrument where needed.
Storage
It is important to store the bottle top dispenser properly for long-term applicability. The bottle top dispenser and all its accessories should be stored in a clean, cool and dry place. The temperature of the storage space should be from -20% C to 50 ° C (-4 ° F to 120 ° F), with relative humidity between 5% and 95%.
Why are Microlit’s BTD the best choice for your lab?
Some of the key features present in Microlit Bottle Top Dispensers are given below:
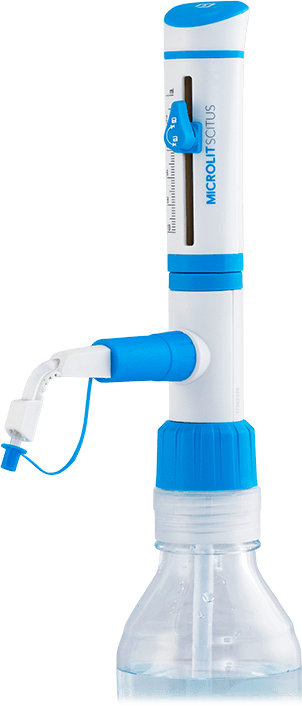
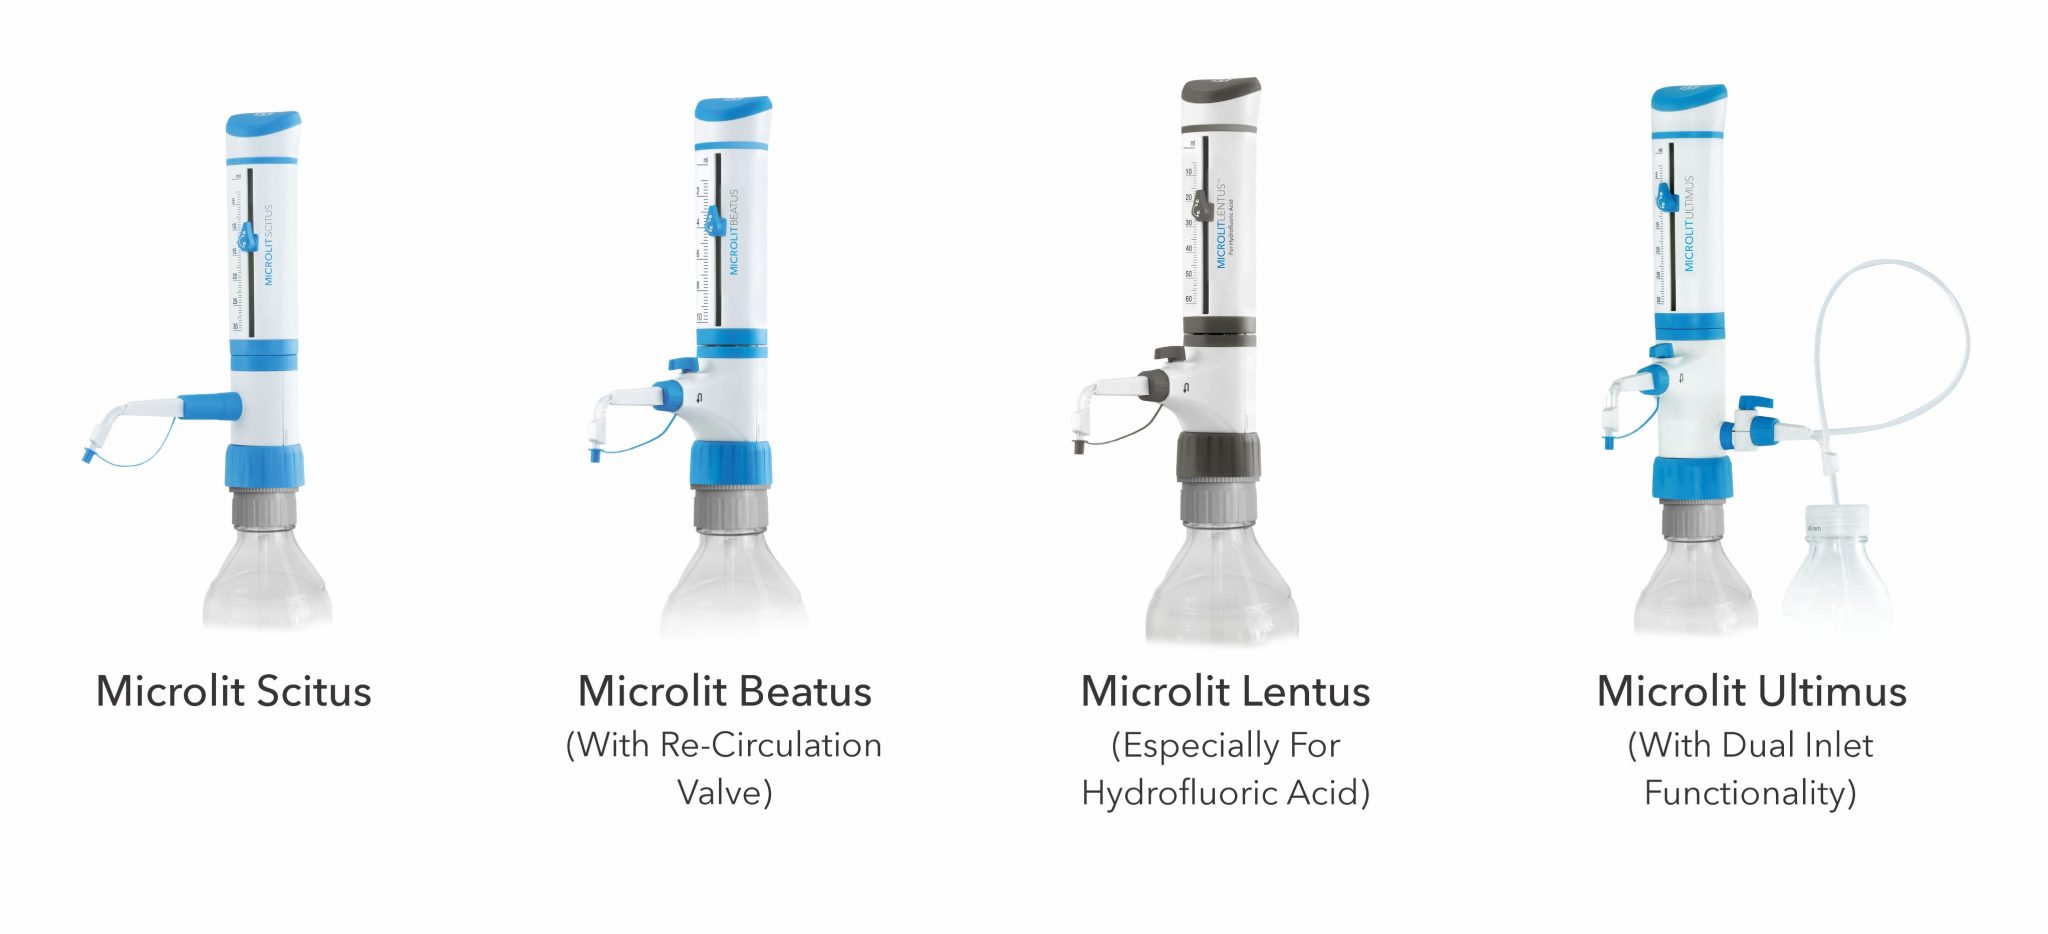
- Microlit Scitus with Springless Valve® Technology – A simple, cost-effective Bottle Top Dispenser that offers smooth and jam-free functioning.
- Microlit Beatus with Recirculation Valve and Springless ValveTM Technology – Prevents the loss of reagents during purging with bubble-free dispensing and offers smooth and jam-free functioning.
- Microlit Ultimus with Patented Dual Inlet® Technology – Offers 4 modes of operation – rinsing, dilution, bottle refilling and dual liquid dispensing- without dismounting the instrument from the reagent bottle.
- Microlit Lentus® for dispensing Hydrofluoric Acid and High Purity Acids for Trace Analysis. Comes with Recirculation Valve and Springless Valve® Technology.
To know more, please visit our product page at www.microlit.com or email us at info@microlit.com