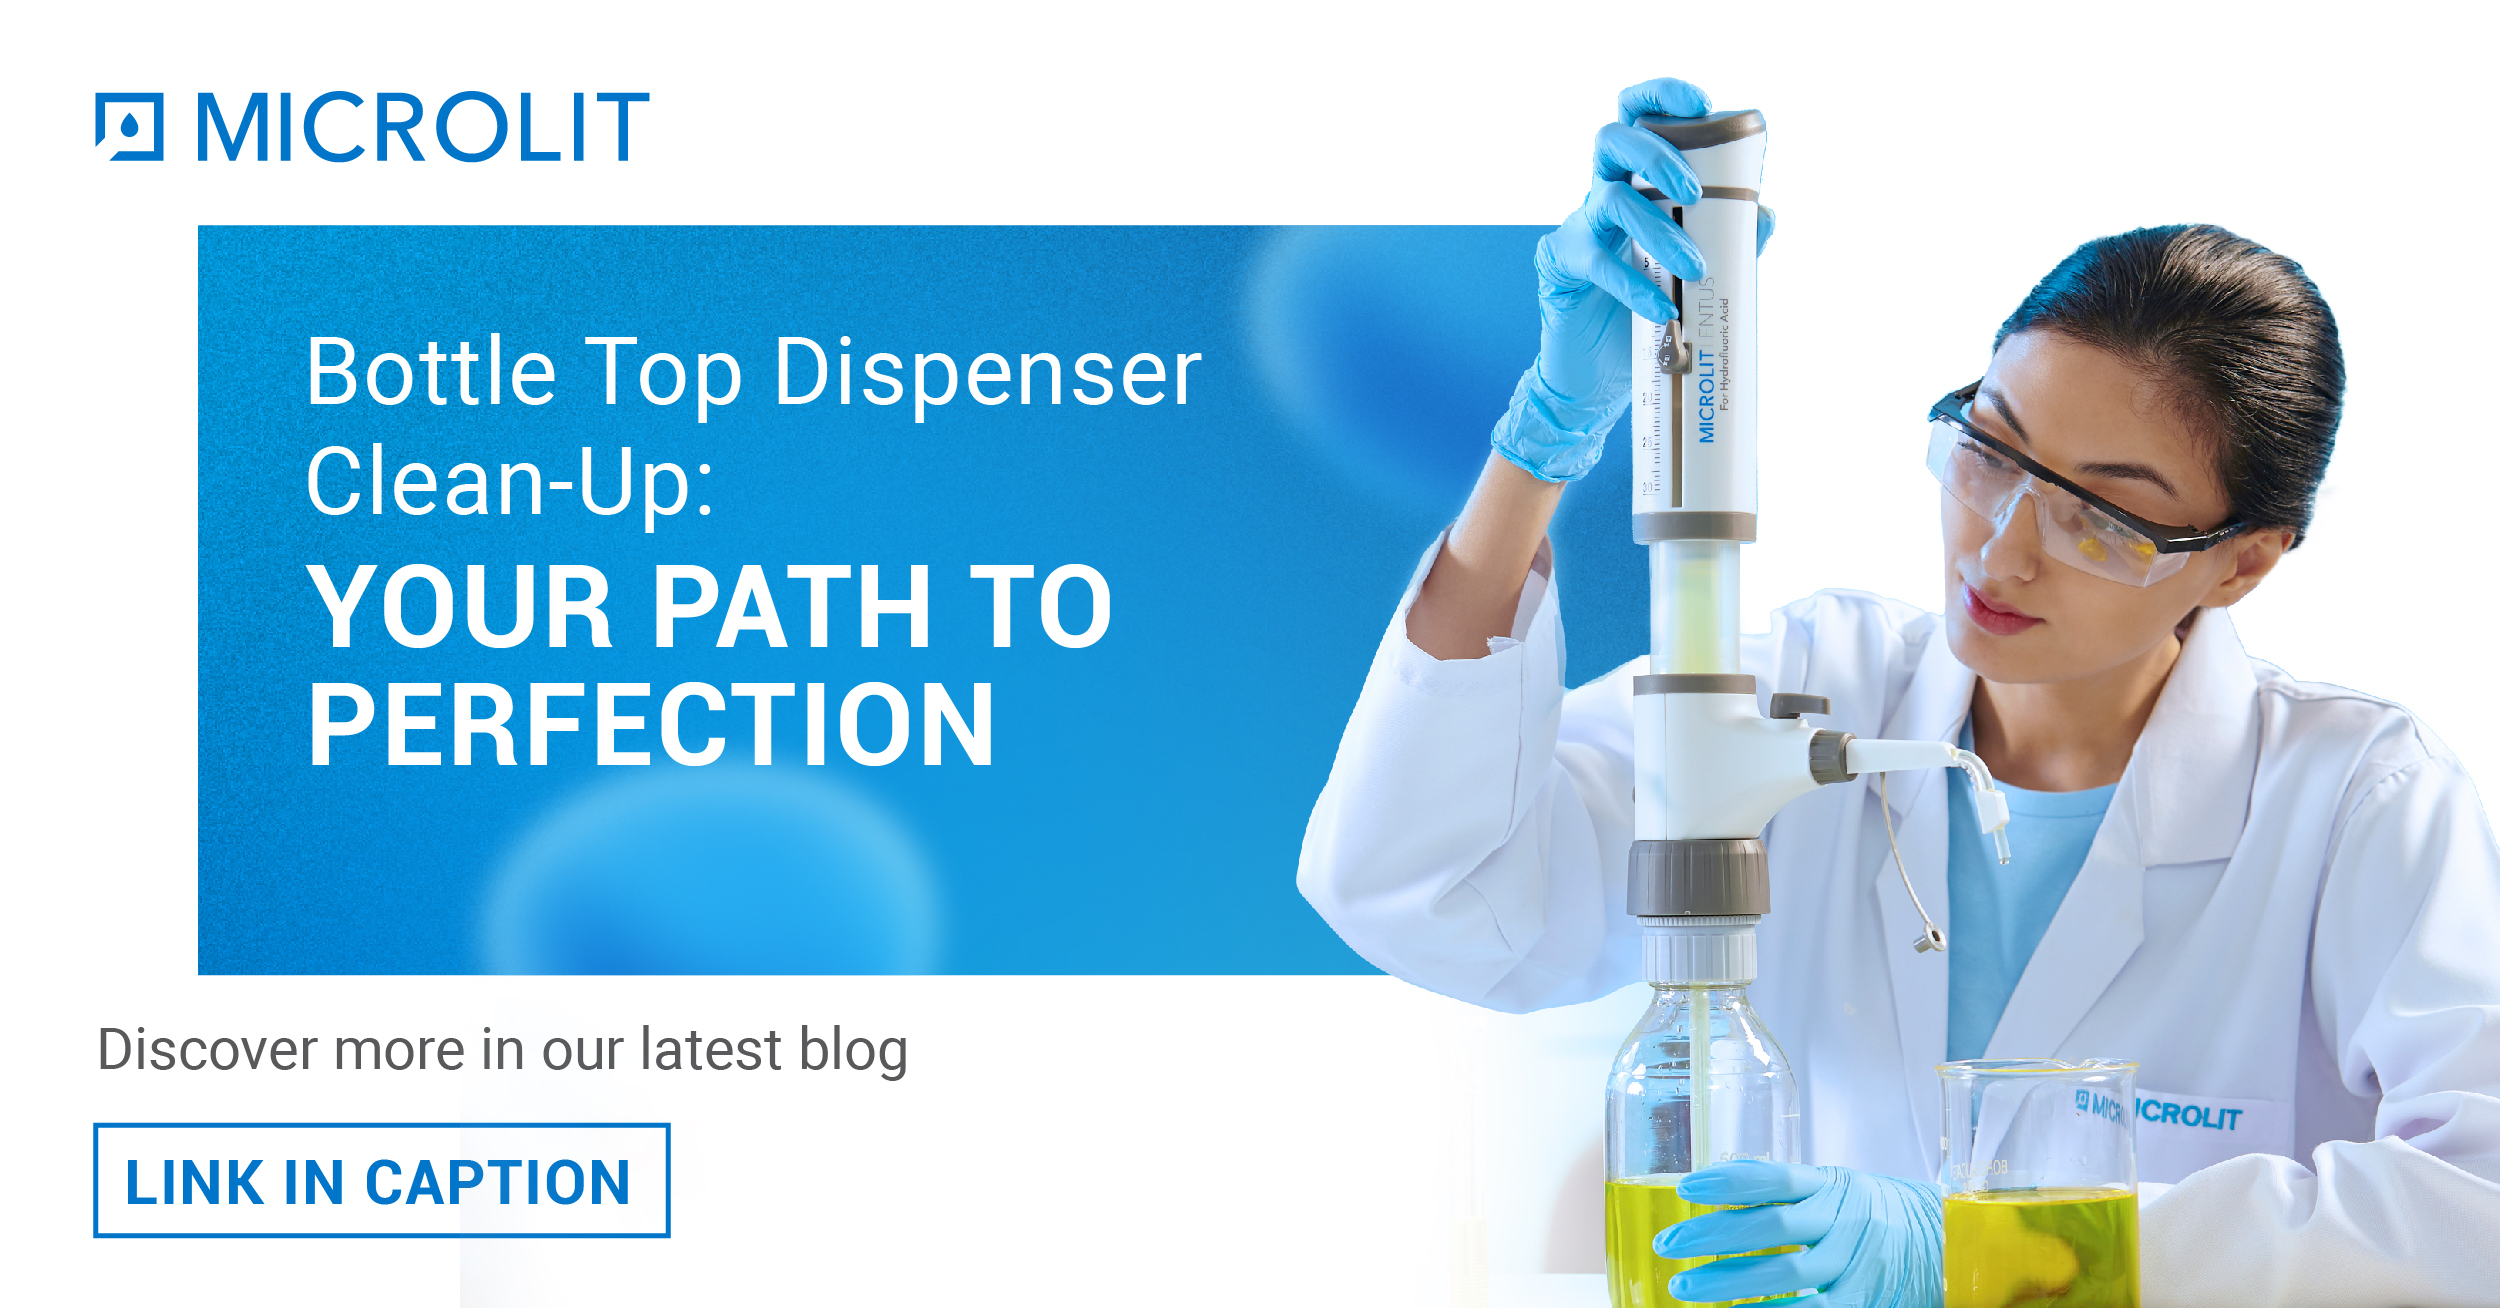
Bottle Top Dispenser Clean-Up: Your Path to Perfection
- December 21, 2023
- ENQUIRE NOW
In the intricate world of laboratories, where precision is everything, maintaining the reliability of your Bottle Top Dispenser holds great importance. Let’s break down the importance of cleaning, the steps involved and why it matters for accurate results in a way that’s easy for everyone to understand.
Why is cleaning Bottle Top Dispensers necessary?
A Bottle Top Dispenser is the lifeline of any laboratory that deals with liquid dispensing. The accuracy of your experiments, analyses and results hinges on the precision of the dispenser. Over time, residues, contaminants or dried reagents can accumulate, compromising the accuracy and repeatability of dispensing. Regular cleaning not only ensures the longevity of the equipment but also safeguards the integrity of your research. Consistent maintenance is essential to prevent cross-contamination, maintain calibration and uphold the reputation of your laboratory.
When should Bottle Top Dispensers be cleaned?
Maintaining the accuracy and precision of your Bottle Top Dispenser necessitates timely and thorough cleaning and maintenance under the following circumstances:
Immediate Cleaning
Impeded Piston Movement: Any perceived resistance or sluggishness in the piston’s movement warrants immediate cleaning to prevent potential damage and ensure consistent dispensing precision.
Reagent Transition: Before introducing a new reagent, meticulous cleaning of the BTD is essential to eliminate trace residues of the previous substance and safeguard against cross-contamination and inaccurate measurements.
Pre-emptive Cleaning
Extended Storage: Before placing the dispenser in long-term storage, meticulous cleaning is prudent to prevent the build-up of dried reagent residues or bacterial growth that could compromise its functionality upon reactivation.
Dismantling or Autoclaving: Before any disassembly or sterilization procedure, comprehensive cleaning of the BTD is imperative to ensure hygienic and efficient execution of the respective interventions.
Valve Replacement: Before installing a new valve, thorough cleaning of the BTD is crucial to prevent transferring potentially contaminating residues from the existing valve to the new one.
Regular Maintenance
Crystallising Liquids: If your workflow frequently involves liquids prone to crystallisation, implementing a regular cleaning schedule is indispensable to prevent internal blockages and maintain dispensing accuracy.
Cap Accumulation: Regular cleaning of the cap area is fundamental to prevent the build-up of liquid residues, thereby promoting freshness and minimizing the risk of contamination.
By adhering to these outlined cleaning and maintenance practices, you can ensure the longevity, optimal performance and consistent accuracy of your valuable Bottle Top Dispenser. Investing in regular care translates to reliable and precise results, minimizing potential errors and maximizing the instrument’s lifespan.
Procedure for Bottle Top Dispenser Cleaning:
- Ensure Complete Depletion: Verify that the instrument’s reservoir and dispenser are empty of any liquid.
- Secure Disposal and Positioning: Place the instrument and its reservoir in a designated cleaning area, such as an empty sink or dedicated basin.
- Disassembly of Base Platform: Carefully unscrew the threaded platform base from the reservoir. Gently lift the instrument’s intake tube out of the reservoir, tapping it lightly against the reservoir’s opening to dislodge any residual liquid droplets.
- Reverse Dispense and Emptying: Position the dispensing nozzle over the reservoir opening. Apply gentle, controlled strokes of the piston to expel any remaining liquid into the reservoir. Empty the instrument and reservoir completely.
- Thorough Rinsing with Distilled Water: Flush the entire instrument and its components thoroughly with distilled water, ensuring all internal surfaces are adequately rinsed. Repeat the rinsing process until the discharged water runs clear.
- Optional Disassembly for Deep Cleaning: If visual inspection reveals persistent residue within the piston barrel or other components, consider further disassembly for a more comprehensive cleaning process.
Cleaning for Trace Analysis
In applications where trace analysis is paramount, such as in environmental testing or pharmaceutical research, the cleanliness of the Bottle Top Dispenser takes on even greater significance. Trace elements can be easily compromised by the slightest contamination, making it imperative to adopt stringent cleaning protocols.
Step 1: Affix the dispenser onto a bottle containing Acetone, prime it, and subsequently fill it to capacity. Maintain the piston at the uppermost position and seal the dispensing nozzle with the nozzle cap. Allow the dispenser to remain in this configuration for approximately 24 hours. Subsequently, perform dispensing twice, completely evacuate the dispenser and rinse it five times with distilled water.
Step 2: Mount the dispenser on a bottle filled with 20% Hydrochloric acid, prime it and fill it entirely. Keep the piston at the uppermost position and close the dispensing nozzle using the nozzle cap.
Step 3: After an approximate contact time of 24 hours, perform dispensing twice and then refill the dispenser completely.
Step 4: Repeat Step 3 for two more times. Following an additional approximate 24 hours of contact time, completely empty the dispenser. Subsequently, rinse it five times with distilled water.
Step 5: Replicate Steps 2, 3, and 4 using 30% Nitric acid.
Step 6: Attach the dispenser to a bottle containing the desired dispensing medium, prime the dispenser, and fill completely. Keep the piston at the uppermost position and seal the dispensing nozzle with the nozzle cap.
Step 7: After an approximate 24 hours of contact time, perform dispensing twice, then completely refill the dispenser.
Step 8: Repeat Step 7 two more times. After an additional approx. 24 hours of contact time, perform dispensing twice and leave the piston at the lowermost position.
Additional Tips:
The cleaning procedure can be reiterated if the initial cleaning is deemed insufficient.
Wear appropriate personal protective equipment (PPE) during cleaning, as some reagents may require specific safety precautions.
Air-dry the instrument completely before reassembly or storage.
Disassembling and Assembling for Cleaning and Servicing
The thoroughness of the cleaning process is directly influenced by the ease with which a dispenser can be disassembled and reassembled. Microlit designed bottle top dispensers with user-friendly features, allowing researchers to dismantle the dispenser for cleaning without the need for specialized tools.
When disassembling, follow the guidelines to avoid damage to delicate components. Take note of the order in which parts are removed to simplify the reassembly process. Regular disassembly and cleaning also offer an opportunity to inspect the dispenser for signs of wear or damage, facilitating timely servicing or replacement of worn-out parts.
What is Autoclaving?
Autoclaving is a highly effective sterilization method for laboratory instruments, eliminating virtually all forms of microbial life.
It utilizes hot, pressurized and saturated steam to denature proteins and disrupt cellular structures, leading to irreversible deactivation and death of microorganisms.
Its efficacy extends beyond bacteria to encompass viruses, fungi, and bacterial spores, making it a versatile decontamination tool.
Autoclaving is the final step in ensuring the complete sterilisation of the Bottle Top Dispenser. It is particularly important when working with sensitive biological samples or when cross-contamination is a concern. Before autoclaving, verify that the dispenser is autoclavable and follow the manual recommendations for temperature and duration. It is essential to disassemble the dispenser and place the individual components in autoclavable bags to ensure uniform sterilisation.
Critical Parameters
Exposure Time: The duration of exposure to steam is crucial for efficient sterilization. Typically, laboratory equipment is autoclaved at 121°C for 20 minutes, ensuring thorough penetration and elimination of microorganisms.
Temperature: Maintaining the correct temperature, usually 121°C for laboratory equipment, is vital for protein denaturation and microbial destruction. Deviating from this might compromise the sterilization process.
Steam Penetration: Proper packing and arrangement of items within the autoclave chamber are essential to ensure adequate steam penetration throughout the load. Air pockets or improperly placed items can impede complete sterilization.
Conclusion
The cleanliness and maintenance of Bottle Top Dispensers are pivotal in ensuring the accuracy and reliability of liquid handling processes in laboratories. By understanding the importance of cleaning, adopting a systematic cleaning process, catering to the demands of trace analysis, mastering the disassembling and assembling procedures and incorporating autoclaving when necessary, laboratories can uphold the highest standards of precision and integrity in their research. Regular cleaning transforms Bottle Top Dispensers into steadfast allies, contributing to the success of experiments and analyses in any scientific pursuit.
For more information, visit Microlit’s website and check out our Bottle Top Dispensers (BTD) range at https://www.microlit.com/product-category/bottle-top-dispensers/