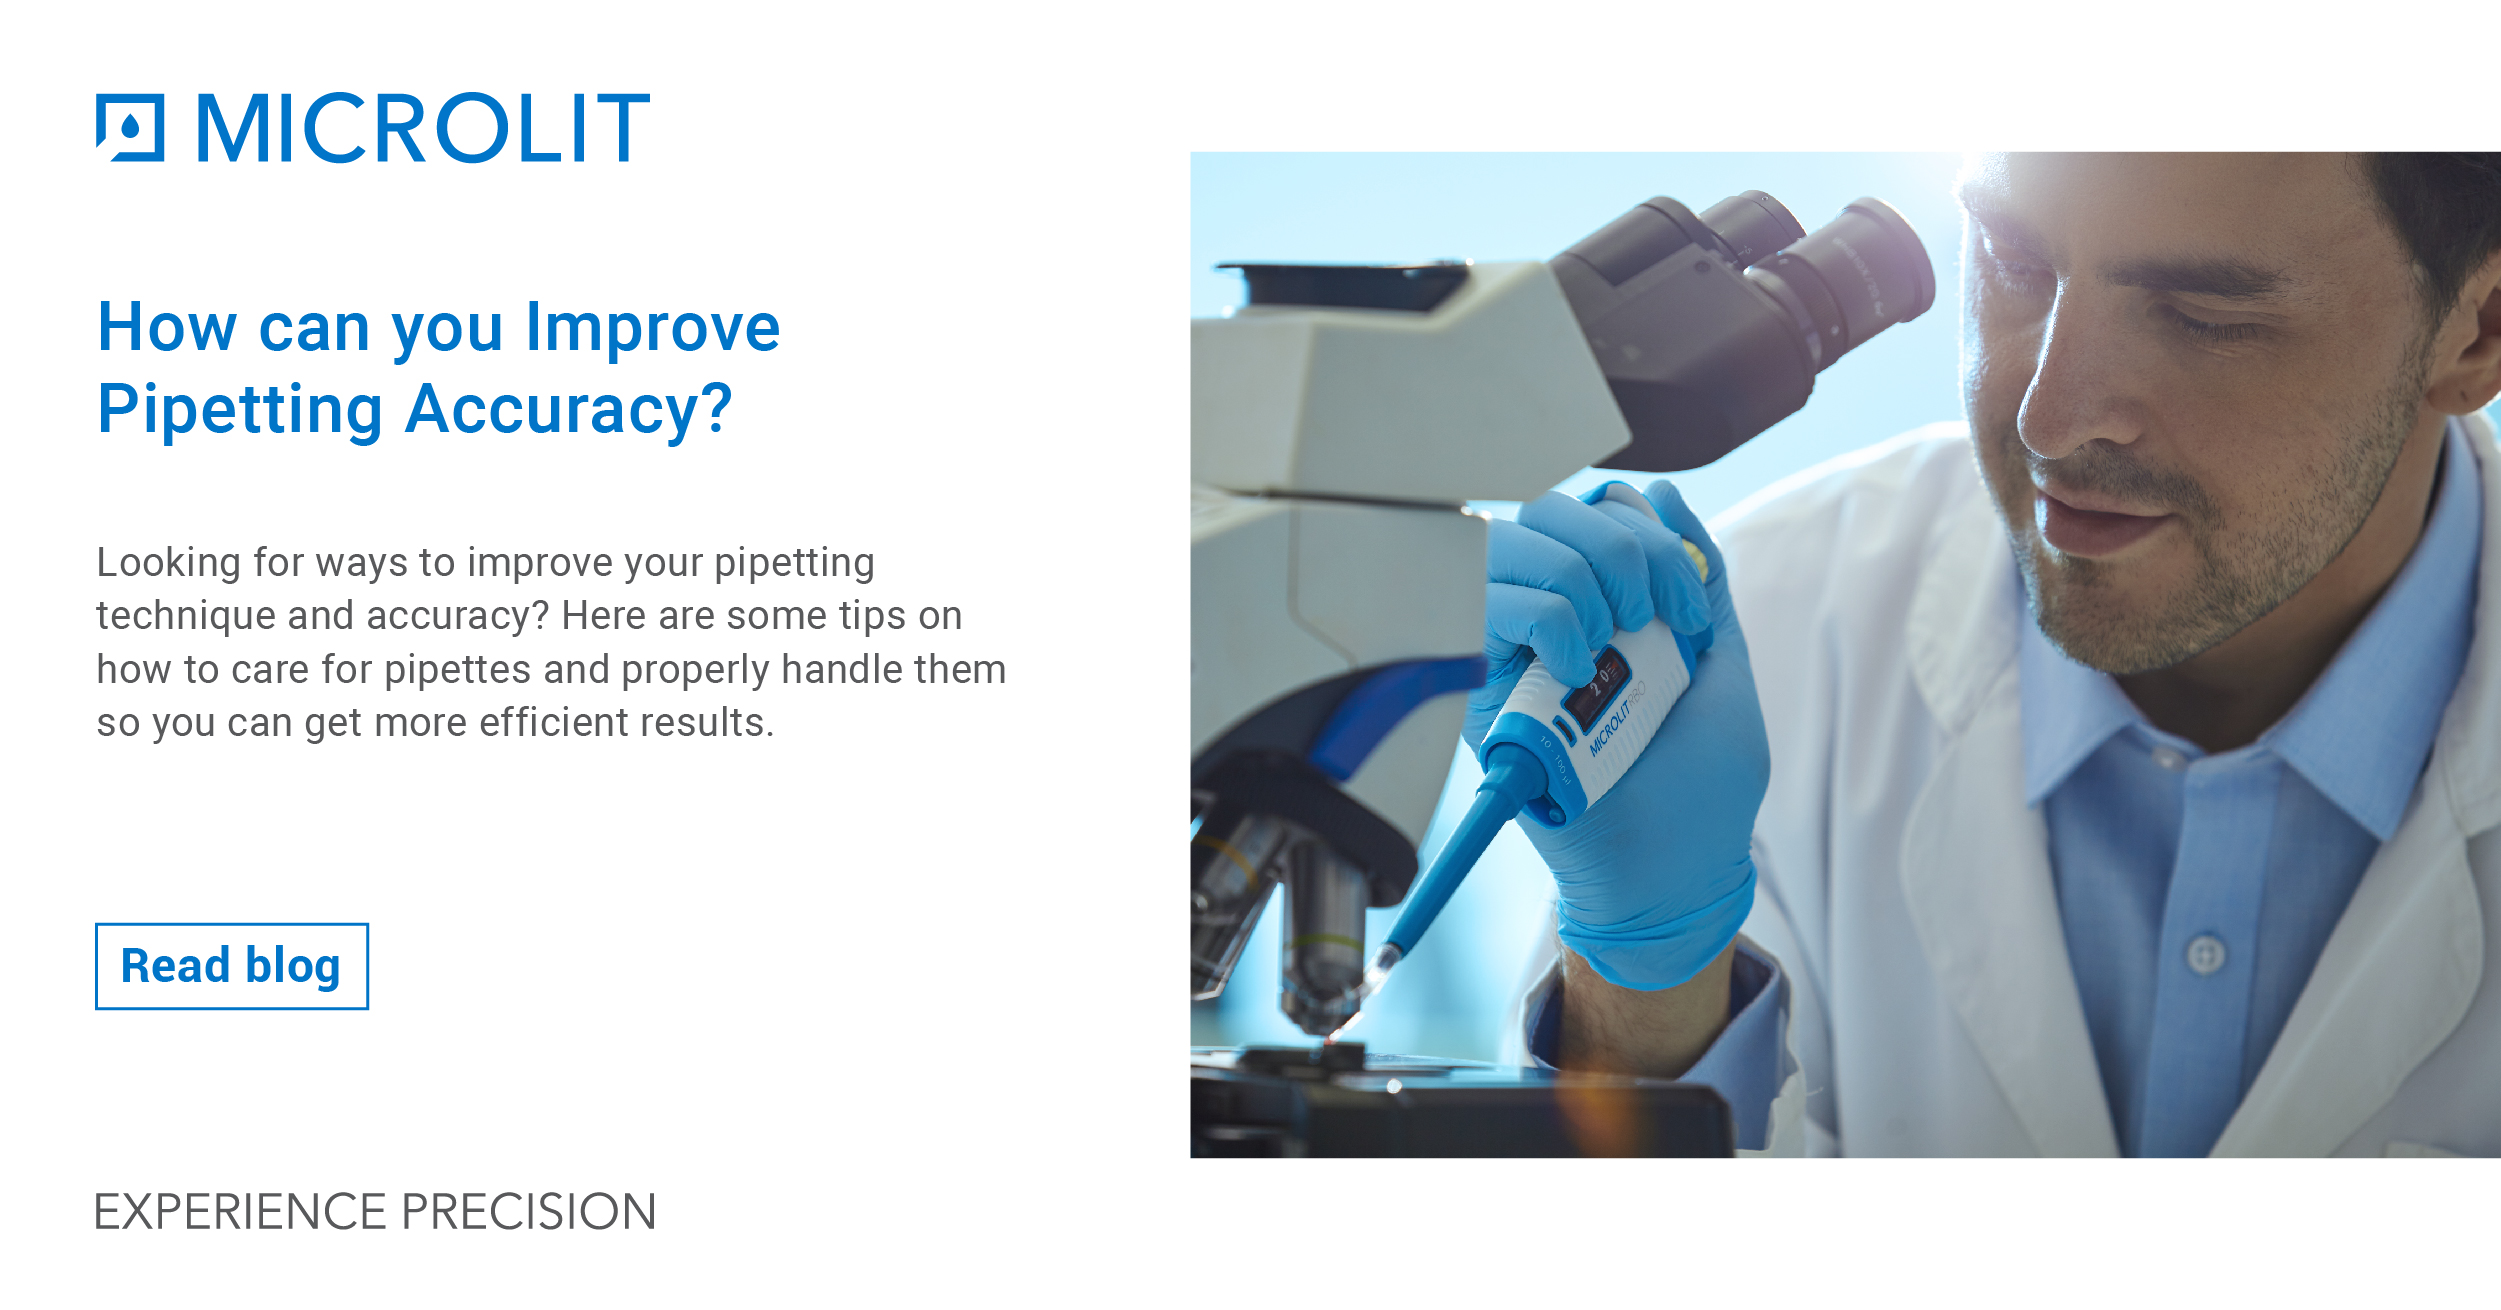
How can you improve Pipetting Accuracy?
- September 21, 2022
- ENQUIRE NOW
Working with pipettes and micropipettes is a core job for scientists/researchers/lab experts. No matter how amazing their hands might be, they aren’t nimble enough to properly handle the minuscule portions of liquids that need to be fed into test tubes. This is the reason scientists prefer using pipettes to transfer samples instead of traditional method of pouring them out by hand. As laboratory’s demand for accuracy and precision grows, so does the importance of understanding and developing an optimal pipetting technique.
Tips to improve pipette accuracy
Here are some tips that can help you hone the accuracy of your pipetting technique:
1. Pre-wet the pipette tip 
Aspirate and expel any sample liquid at least three times before aspirating a sample for delivery. Evaporation within the tip can cause significant sample loss before delivery. Pre-wetting increases humidity within the tip, thus reducing any variation in sample evaporation. The need to pre-wet increases when working with volatile samples for example, i.e., organic solvents.
2. Immerse the tip to the proper depth during aspiration
Before aspirating, immerse the tip adequately below the meniscus. Large volume pipettes (1-5 ml) should be immersed to 5-6 mm, while smaller volume pipettes should be immersed to 2-3 mm. Too little immersion, particularly with large volume pipettes, can lead to air aspiration. Too much immersion can cause samples to cling to the outside of the tip. Touching the container bottom with the tip may restrict aspiration.
3. Pause consistently after aspiration
Leave the tip still in the liquid for about one second after aspirating the sample. It takes a moment for the liquid in the tip to finish moving after the plunger stops, so failure to do so will cause the volume to be too low. Make these pauses as consistent as possible.
4. Use consistent plunger pressure and speed 
Press down and release the plunger smoothly and consistently. Try to apply the same pressure and speed when aspirating and dispensing each sample. Repeatable actions produce repeatable results.
5. Pull the pipette straight out
During sample aspiration, always hold the pipette vertically and avoid touching the sides of the container. After sample aspiration, pull the pipette straight out of the liquid from the centre of the container. This technique is especially important when pipetting small volumes (<50 µL). Holding the pipette at an angle as it is removed from the sample alters the volume aspirated. Touching the sides of the container can cause wicking and a loss of volume due to surface tension.
6. Examine the tip before dispensing a sample
Before dispensing, carefully remove droplets on the outside of the tip with a lint-free cloth, being sure to stay clear of the tip opening. Absorbent material rapidly sucks the sample from the tip if it comes into contact at the opening, and unnecessary wiping off the tip increases the possibility of sample loss, so use caution.
7. Clean micropipettes before and after use
Pipetting is a messy job. Droplets will form on the tip of the pipette, which can spill on your skin and clothes. Your pipette can also become dirty if you leave it anywhere where liquids can get into it. So, make sure to clean your pipette between each use.
You can use alcohol or water to clean the pipette. Just make sure you clean it properly so that the tip doesn’t get bent or damaged. If you want to clean your glass pipette more thoroughly, you can sterilise it by immersing it in a bowl of boiling water for about 10 minutes. Make sure to dry it properly after.
8. Store micropipettes upright and dry
If you want your micropipettes to be precise, don’t store them with the tips facing down. The tip oil on the tip of the pipette may cause the formation of residue, which could distort the pipette’s measurements. If you store your micropipettes upright with the tip facing up, the residue from the tip oil will stay in the tip and not affect the pipette’s volume.
In addition, remember to keep your micropipettes in an airtight container. Any air present in the container can cause the pipette to be imprecise. Air also causes residue to form on the tips, so make sure you don’t open the container unnecessarily.
9. Keep track of your pipetting errors
If you make a mistake, then it’s much harder to correct it once the process is done. So, make a note of each pipetting error you make right after it occurs. It can be quite difficult to know exactly what went wrong, but it’s always better to know than to assume.
10. Get rid of air bubbles and droplets
You should also stay alert for any air bubbles that form in the micropipette. This can be used to indicate whether you’re transferring the sample correctly. Air bubbles can form in the solutions that you are pipetting. To check for air bubbles, place the tip of the pipette close to the surface of your solution and pop any air bubbles present. If you are still seeing bubbles after this, you will need to make a new solution and pipette it into the old one.
Check for droplets on the sides of the micropipette. Droplets may form on the sides if you are not using a sufficiently high flow rate. Try increasing your flow rate by either using a higher-quality pipette or by transferring the solution to a new container.
Common Pipetting Errors
- Working too quickly
- Removing the pipette tip before sample aspiration is complete
- Dragging the pipette tip along the side of the container when exiting the sample
- Releasing the plunger too rapidly
- Not prewetting a new tip, particularly when working with volatile samples
Additional tips
While removing a tip, never tap the micropipette against the box of tips as this could damage the system of strings and plungers and cause the pipette to lose its calibration.
Once you start tracking your pipetting errors and know exactly what you’re doing wrong, you can start to improve on your mistakes. For example, if you consistently transfer the same amount of liquid but with different volumes, you’re transferring air with each pipette movement. So, you can adjust by changing your pipetting technique so that you’re transferring the same volume with each movement.
If you’re looking to increase the accuracy of your pipetting, Microlit offers an exclusive range of ergonomic micropipettes, Nero® with advanced technologies like UniCal™ and μAir™ that ensures high precision and accuracy in practical lab environments. Our newest launch and India Design Mark 2021 awardee “Nero® micropipette” has been granted the patent for its unique calibration system, the UniCal™ technology that allows quick in-lab calibration in a single operation without disengaging the digits from the plunger mechanism.
It is built by our in-house expert team of Product Design Engineers. It is available in Single Channel Fixed Volume and Variable Volume models. Check out other similar Microlit’s Micropipette product range at https://www.microlit.com/product-category/micropipettes/
Handling laboratory pipettes can be intimidating at first, but with a little practice, you’ll be able to handle them with ease. The key is to ensure your micropipettes are clean, operated correctly and then stored appropriately. The tips mentioned above will help get more efficient results from various experiments.